Getting started
Make your first recording
Start, watch, and save your first transcript in under a minute.
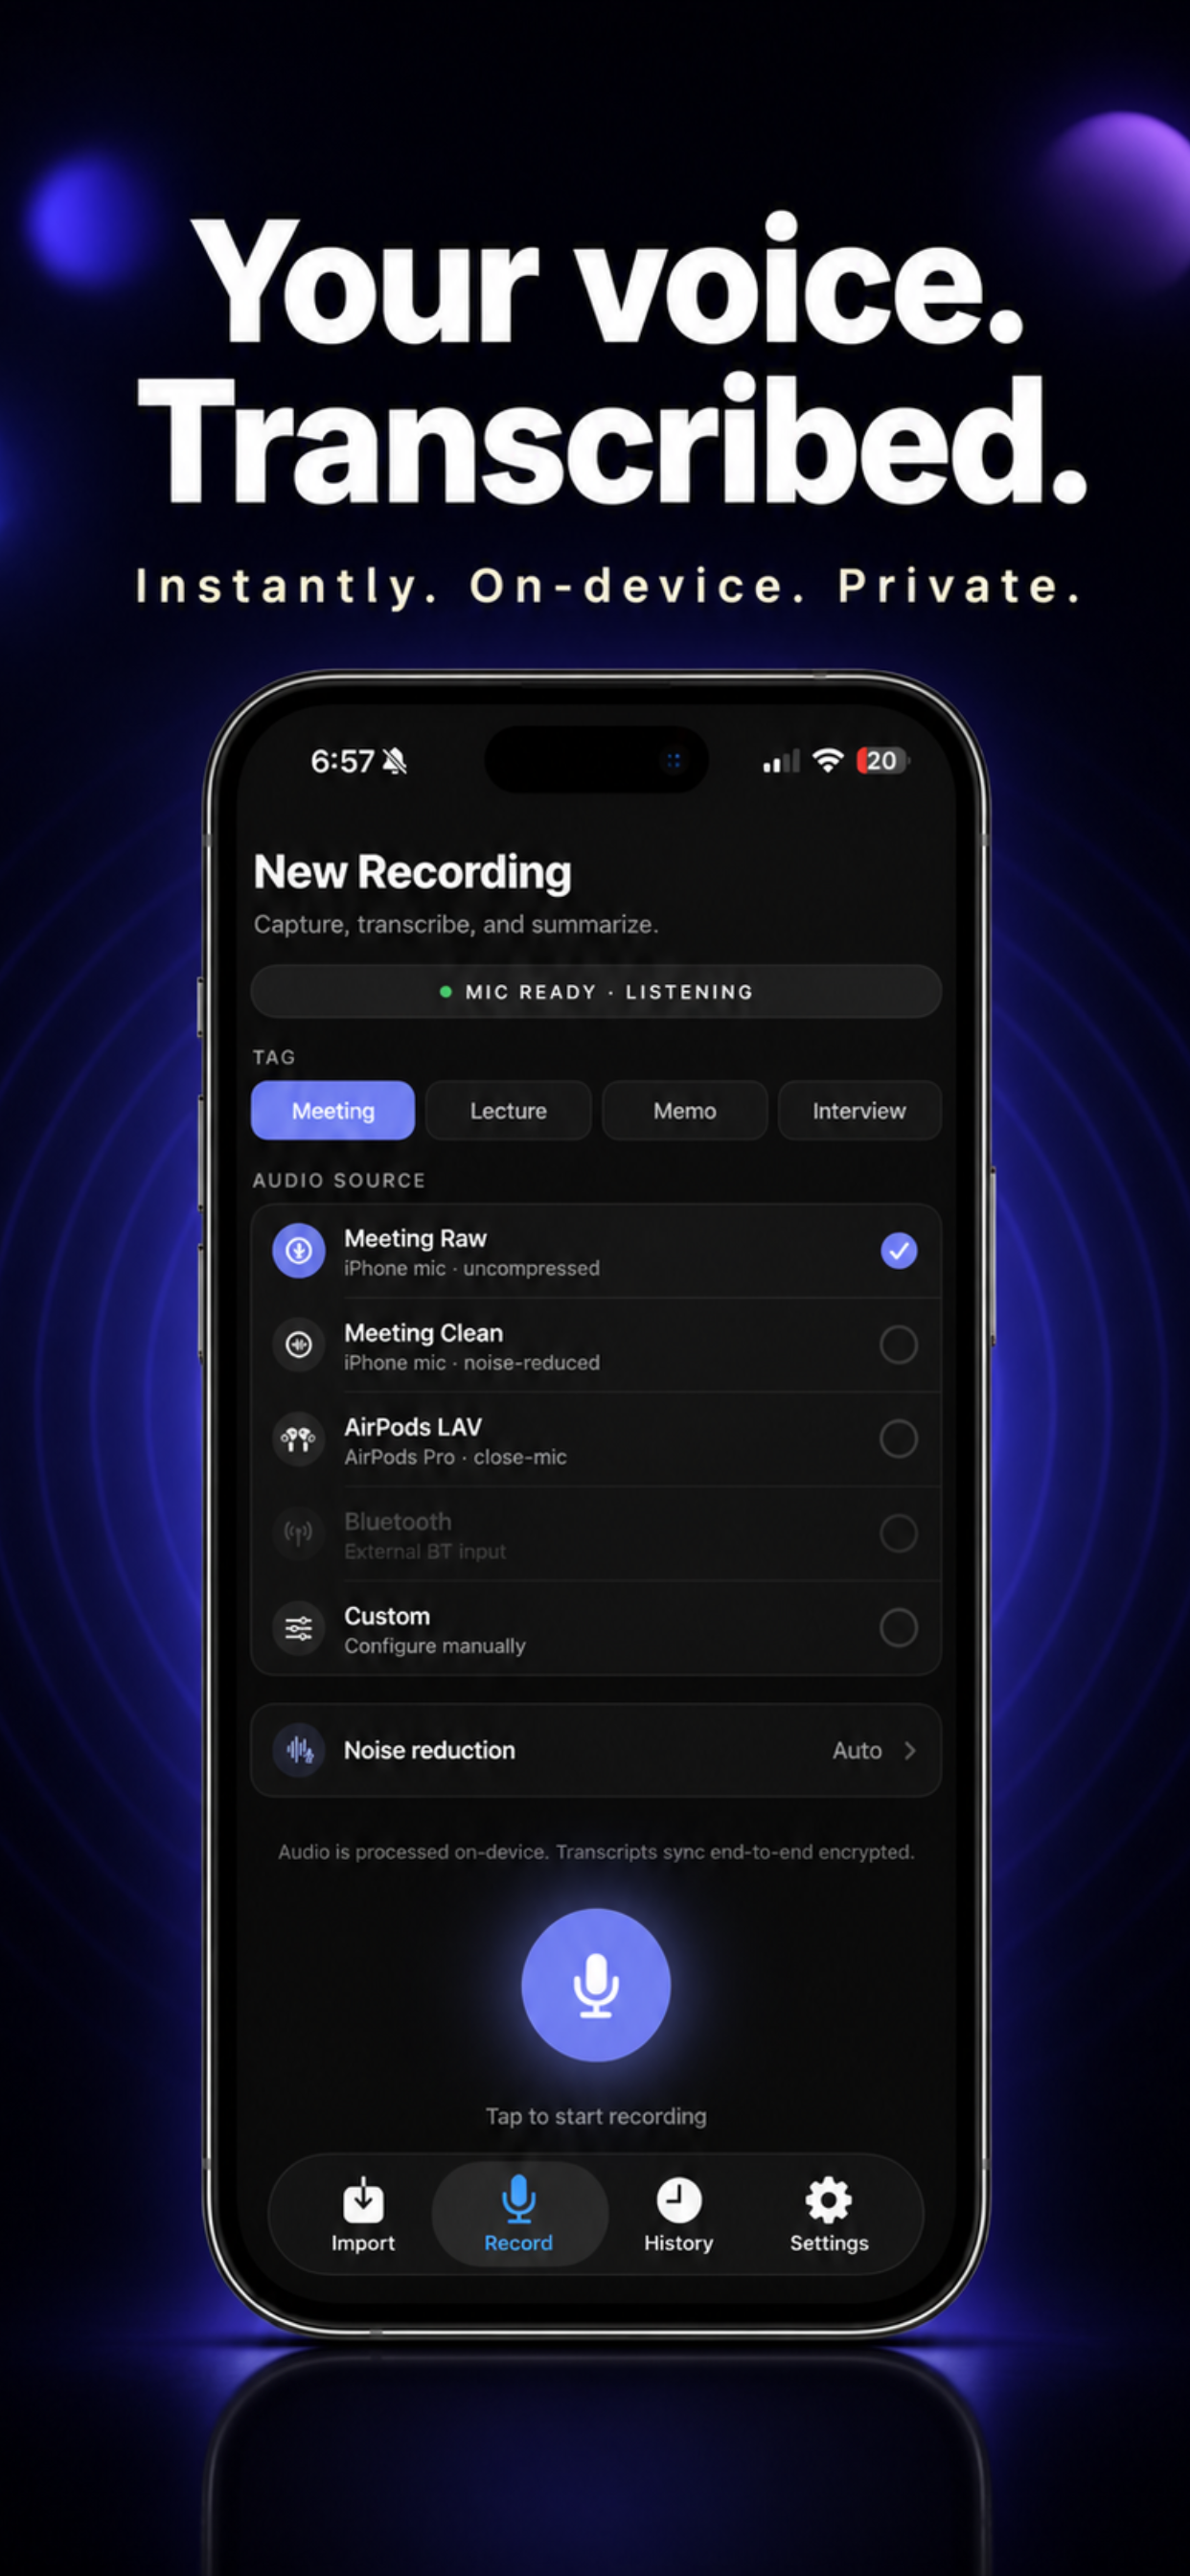
Making a recording is the heart of Echo Chamber, and it takes one tap. The first time, you will be asked for microphone and speech recognition access, which the app needs to hear you and write your words down.
- 01
Open the app and tap Record
The big record button sits at the center of the main screen.
- 02
Allow access when asked
Tap Allow for Microphone and Speech Recognition. These are requested only the first time, and only so transcription can run on your device.
- 03
Speak
Watch the live waveform move and text appear as you talk. You can lock your screen or switch apps and it keeps recording.
- 04
Tap Stop when you are done
Your recording is saved automatically, with a finished transcript ready to read, search, and share.
Microphone and Speech Recognition are required, so the app can hear you and transcribe on your device. Optional permissions, asked only in context, include Face ID, Notifications, Calendar, and Contacts. You can change any of them later in the iOS Settings app.
Email support@obsidianridgelabs.com, a real person will reply.